When you set up a new Windows 11 computer, Microsoft strongly encourages you to link your user profile to a Microsoft account. A Microsoft account is a user authentication and authorization service provided by Microsoft that allows users to sign into various Microsoft services such as Outlook.com, Xbox, OneDrive, Microsoft Store, and Windows itself. While this integration offers conveniences like cloud syncing, app downloads from the Microsoft Store, and seamless access to other Microsoft services, it also means your activities are tied to an online profile.
For many users, the preference lies with a local account. A local account is a user account that exists only on your specific computer. It doesn’t require an internet connection for login, nor does it sync your settings, files, or preferences to Microsoft’s cloud servers. Choosing a local account can be beneficial for several reasons: enhanced privacy (less data shared with Microsoft), simplified setup for users who don’t use many Microsoft services, and better control over your personal data remaining on your device.
Historically, all Windows versions prior to Windows 8 primarily used local accounts. With Windows 8, and increasingly with Windows 10 and 11, Microsoft shifted towards promoting Microsoft accounts as the default. This push reflects the company’s move towards a cloud-integrated ecosystem. However, the option to use a local account remains, though it’s sometimes deliberately obscured during the setup process. This guide will provide clear, step-by-step instructions on how to set up a local account instead of a Microsoft account at various stages of your Windows 11 journey.
Method 1: Setting Up a Local Account During Initial Windows 11 Installation (OOBE)
This is the trickiest part, as Microsoft actively tries to guide you towards a Microsoft account during the Out-Of-Box Experience (OOBE). The key here is to bypass the network connection.
- Start Windows 11 Installation: Boot from your Windows 11 installation media (USB drive or DVD).
- Initial Setup Screens: Proceed through the initial setup screens:
- Choose your language, time, and keyboard layout. Click “Next”.
- Click “Install now”.
- Enter your product key (if prompted, or select “I don’t have a product key” if reinstalling or using a digital license).
- Accept the license terms.
- Choose “Custom: Install Windows only (advanced)” or “Upgrade: Install Windows and keep files, settings, and applications” (if upgrading an existing OS).
- Select the drive/partition where you want to install Windows 11.
- Crucial Step: Disconnect from the Internet:
- When you reach the “Let’s connect you to a network” screen, do not connect to Wi-Fi or plug in an Ethernet cable.
- If you are connected, disconnect your Ethernet cable immediately.
- If you are on Wi-Fi and there’s no “I don’t have internet” or “Continue with limited setup” option directly:
- Press Shift + F10 on your keyboard to open the Command Prompt.
- Type oobe\bypassnro (OOBE Bypass Network Requirement Only) and press Enter.
- Your computer will restart. When it boots back up, you should be able to proceed without a network connection.
- Alternatively, if oobe\bypassnro doesn’t work (due to updates), try typing taskmgr to open Task Manager. In Task Manager, go to the “Processes” tab, find “Network Connection Flow” or “OOBENetworkConnectionFlow.exe,” right-click it, and select “End task.” This will typically allow you to bypass the network requirement and proceed to local account creation.
- Create Local Account:
- After bypassing the network, you should see a screen titled “Who’s going to use this device?” or similar.
- Enter the desired name for your local account (e.g., “User,” “Admin,” “MyPC”). Click “Next”.
- Create a password for your local account. It’s highly recommended to set a strong password. Click “Next”.
- Confirm your password. Click “Next”.
- Set up three security questions in case you forget your password. This is mandatory for local accounts in Windows 11. Choose your questions and provide answers. Click “Next”.
- Privacy Settings: Go through the privacy settings. Microsoft will ask about various data collection options. Review each one carefully and toggle off anything you don’t want to enable for privacy reasons. Click “Accept”.
- Final Setup: Windows will now finish setting up your desktop. You have successfully created a local account.
Method 2: Switching from a Microsoft Account to a Local Account
If you’ve already set up Windows 11 with a Microsoft account and now wish to switch to a local account, follow these steps:
- Open Settings: Press Windows key + I to open the Settings app.
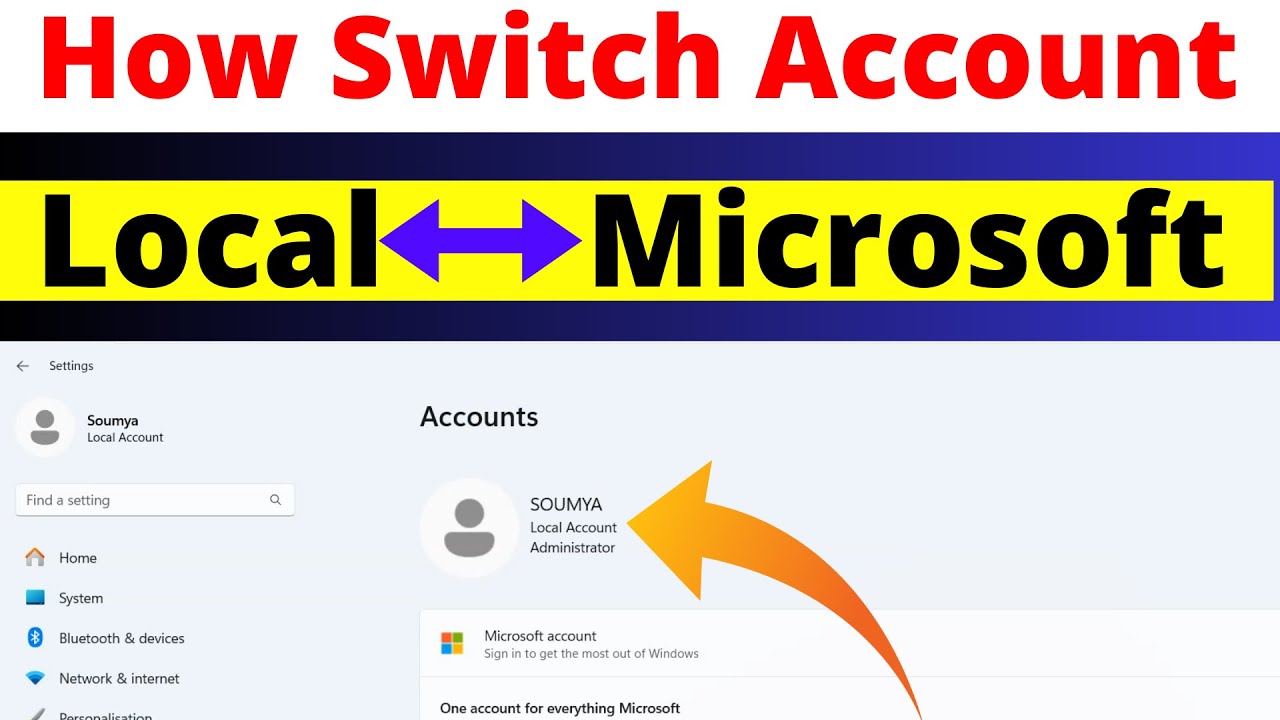
- Navigate to Accounts: In the left-hand pane, click on “Accounts”.
- Your Info: Click on “Your info” at the top.
- Sign in with a local account instead: Under “Account settings,” you will see an option that says “Sign in with a local account instead.” Click on it.
- Switch to a local account wizard:
- A wizard will appear, explaining the implications of switching. Click “Next”.
- You will be prompted to verify your current Microsoft account identity. Enter your Microsoft account password or PIN. Click “OK”.
- Now, you’ll be asked to create your new local account details:
- User name: Enter the desired name for your local account.
- Password: Create a strong password for your local account.
- Confirm password: Re-enter the password.
- Password hint: Provide a hint (optional, but helpful).
- Click “Next”.
- Sign out and Finish:
- You will see a screen confirming the switch. Click “Sign out and finish”.
- Windows will sign you out of your Microsoft account and then immediately sign you back in using your newly created local account.
Method 3: Creating a New Local Account (while logged in with an existing account)
This method is useful if you want to add a completely new local user to your computer without affecting existing accounts.
- Open Settings: Press Windows key + I to open the Settings app.
- Navigate to Accounts: In the left-hand pane, click on “Accounts”.
- Family & other users: Click on “Family & other users”.
- Add account: Under “Other users,” click on the “Add account” button.
- Microsoft account prompt: The system will prompt you to enter an email or phone number for a Microsoft account. Do not enter anything here.
- Click the link that says “I don’t have this person’s sign-in information.”
- Create Microsoft account prompt: On the next screen, it will again push for a Microsoft account. Do not fill anything.
- Click the link that says “Add a user without a Microsoft account.”
- Create local account:
- Enter the User name for the new local account.
- Create a password for the account.
- Confirm the password.
- Choose three security questions and provide answers.
- Click “Next”.
- Account Created: The new local account will now appear under “Other users.” By default, it will be a “Standard user.”
- Optional: Change Account Type to Administrator: If you want this new local account to have administrative privileges, click on the account name, then click “Change account type.” From the dropdown, select “Administrator” and click “OK”.
Method 4: Using Command Prompt (Advanced)
For users comfortable with the command line, you can create a local account using the Command Prompt (running as administrator).
- Open Command Prompt as Administrator:
- Search for “cmd” in the Windows search bar.
- Right-click on “Command Prompt” and select “Run as administrator”.
- Click “Yes” if prompted by User Account Control.
- Create the User Account:
- Type the following command and press Enter: net user <username> <password> /add
- Replace <username> with your desired local account username (e.g., net user LocalUser1).
- Replace <password> with your desired password (e.g., net user LocalUser1 P@ssw0rd123 /add). If you want to create an account without a password, leave <password> blank, but this is not recommended for security.
- Example: net user MyLocalAccount MySecurePass123! /add
- Type the following command and press Enter: net user <username> <password> /add
- (Optional) Add User to Administrators Group:
- If you want this new local account to have administrative privileges, type the following command and press Enter: net localgroup administrators <username> /add
- Replace <username> with the username you just created.
- Example: net localgroup administrators MyLocalAccount /add
- If you want this new local account to have administrative privileges, type the following command and press Enter: net localgroup administrators <username> /add
- Verify Account: You can verify the account was created by going to Settings > Accounts > Family & other users or by typing net user in Command Prompt.
Key Differences and Considerations of Local Accounts
While local accounts offer privacy and control, it’s important to understand what you might miss out on:
- Microsoft Store: You cannot download or update apps from the Microsoft Store without signing in with a Microsoft account.
- OneDrive Sync: Files will not automatically sync to OneDrive unless you manually sign in to OneDrive from the application.
- Settings Sync: Your settings, themes, and browser data (Edge) will not sync across multiple devices.
- Find My Device: The “Find My Device” feature, which helps locate a lost or stolen laptop, relies on a Microsoft account.
- Xbox Services: Access to certain Xbox features and game saves may be limited.
- Password Recovery: Unlike Microsoft accounts, which offer online password recovery, if you forget your local account password and haven’t set up security questions, you might lose access to your account unless you use third-party tools or advanced recovery methods. This highlights the importance of setting strong passwords and remembering your security questions or hints.
Conclusion
Setting up a local account instead of a Microsoft account in Windows 11 is a viable option for users prioritizing privacy and a more traditional, offline computing experience. While Microsoft’s initial setup process can be persuasive in pushing for online accounts, the methods outlined above provide clear pathways to achieve a local setup. Whether you’re installing Windows for the first time, switching an existing account, or adding a new user, you have the control to choose the account type that best suits your needs and privacy preferences.
Frequently Asked Questions (FAQ)
Q1: What is the main difference between a local account and a Microsoft account in Windows 11?
A local account exists only on your specific computer and doesn’t require an internet connection for login, nor does it sync data to Microsoft’s cloud. A Microsoft account links your user profile to online Microsoft services, enabling cloud syncing of settings and files, access to the Microsoft Store, and other integrated features.
Q2: Why would someone choose a local account over a Microsoft account?
Users often choose a local account for enhanced privacy, as it limits the data shared with Microsoft. It also offers more control over personal data staying on the device and can simplify the setup for those who don’t utilize many Microsoft online services.
Q3: Can I create a local account during a fresh installation of Windows 11 Home?
Yes, you can. During the initial setup (OOBE), when prompted to connect to a network, you must disconnect from the internet (unplug Ethernet or disconnect Wi-Fi). This will often reveal an option like “I don’t have internet” or require a command like oobe\bypassnro in Command Prompt to proceed with local account creation.
Q4: If I already have a Microsoft account on my Windows 11 PC, can I switch to a local account?
Yes. Go to Settings > Accounts > Your info, and then click on “Sign in with a local account instead.” Follow the on-screen prompts to complete the switch.
Q5: What features do I lose by using a local account?
With a local account, you will not have direct access to the Microsoft Store (for downloading apps), OneDrive cloud syncing, automatic settings synchronization across devices, and features like “Find My Device.” Some Xbox features might also be limited.
Q6: What happens if I forget the password for my local account?
Unlike Microsoft accounts with online recovery, local accounts rely on security questions you set during creation. If you forget your password and don’t remember the answers to your security questions, recovering access can be difficult, sometimes requiring advanced tools or a system reset. This highlights the importance of strong passwords and memorable security answers.
Q7: Can I switch back to a Microsoft account after setting up a local account?
Yes. If you’ve set up a local account and later decide you want the benefits of a Microsoft account, you can go to Settings > Accounts > Your info and choose “Sign in with a Microsoft account instead.” You’ll then link your local profile to an existing or new Microsoft account.
Q8: Can I create multiple local accounts on one Windows 11 computer?
Yes, you can. Go to Settings > Accounts > Family & other users, and then click “Add account.” When prompted for sign-in information, select “I don’t have this person’s sign-in information,” and then “Add a user without a Microsoft account” to proceed with creating a new local user.