James holds a B.A. in Journalism with a minor in American Studies and has 9 years of newsroom and magazine experience. He specializes in long form features, oral histories, and culture reporting that connects past to present. His work on community archives earned a regional Society of Professional Journalists award. Off duty he restores film cameras and hikes coastal trails. At No Ban USA he commissions feature packages, edits historical explainers, and mentors contributors on interviews and sourcing.
Stop your Windows laptop from overheating! Learn to clean vents, manage background apps, update drivers, check thermal paste, and optimize power settings for cooler operation.
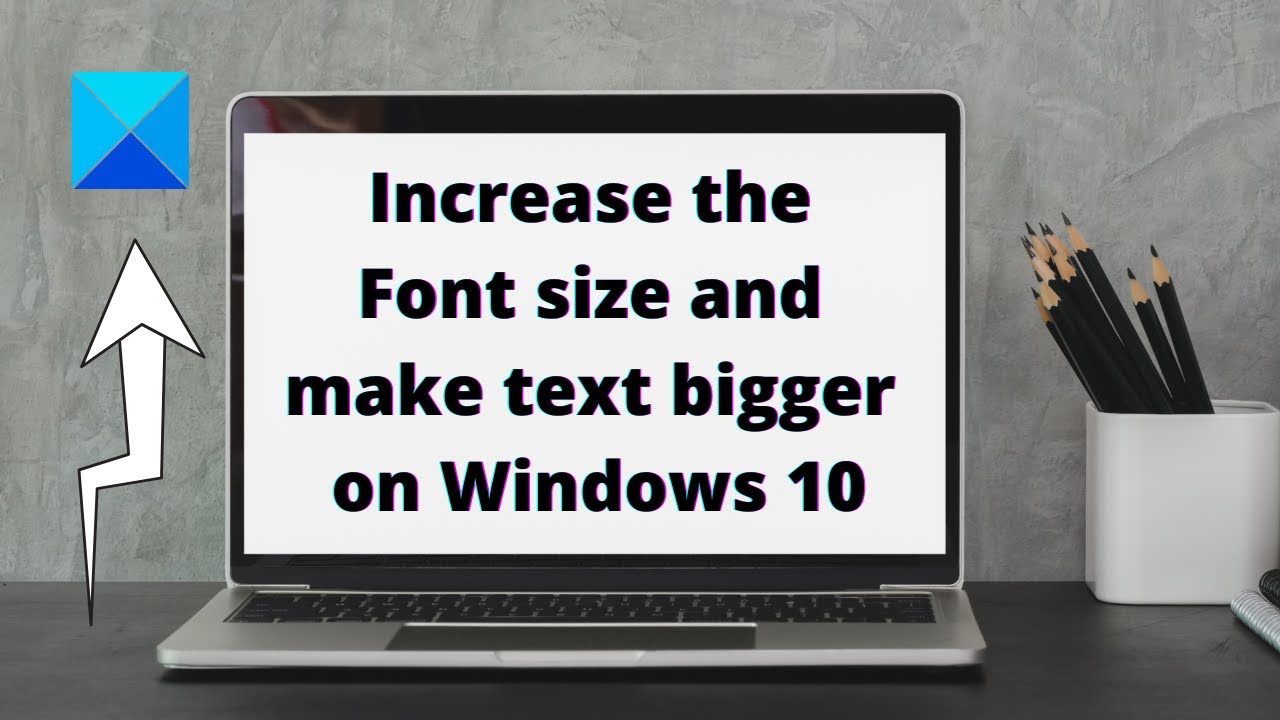
Learn how to increase font size in Windows without scaling everything. This guide covers adjusting text size, using Magnifier, and app-specific settings for better readability.
Learn how to create keyboard shortcuts in Windows to launch apps and files. Our guide covers the built-in method, PowerToys, and AutoHotkey for full customization.
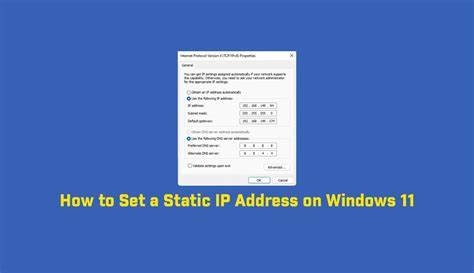
Learn how to set a static IP address in Windows 10 and 11 for wired and wireless connections. Perfect for port forwarding, hosting servers, and managing your network effectively.
Using AI for social media content creation in April 2025 can significantly streamline your workflow and help you generate content faster. By following these steps and always ensuring human review and personalization, you can leverage the power of AI to enhance your social media marketing efforts.
Growing your business with digital marketing in April 2025, especially within the diverse and rapidly evolving Indian market, requires a strategic, audience-focused, and data-driven approach. By implementing these steps, you can build a strong online presence, connect with your target audience in India effectively, and achieve sustainable growth for your business.