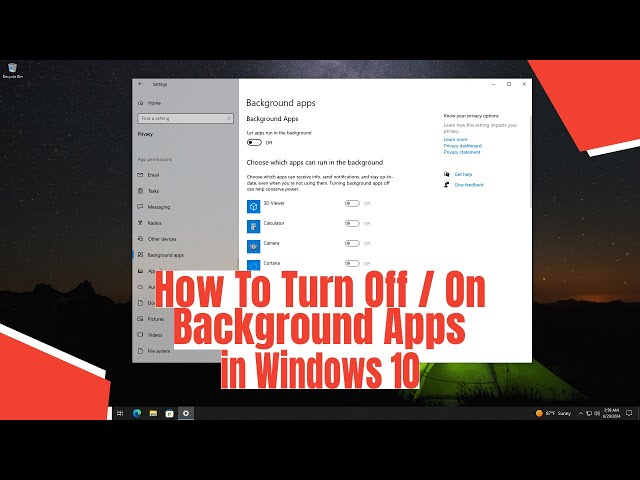
Stop unwanted apps running in the background on Windows. Learn how to manage startup programs, use Task Manager, and adjust settings to improve PC performance.
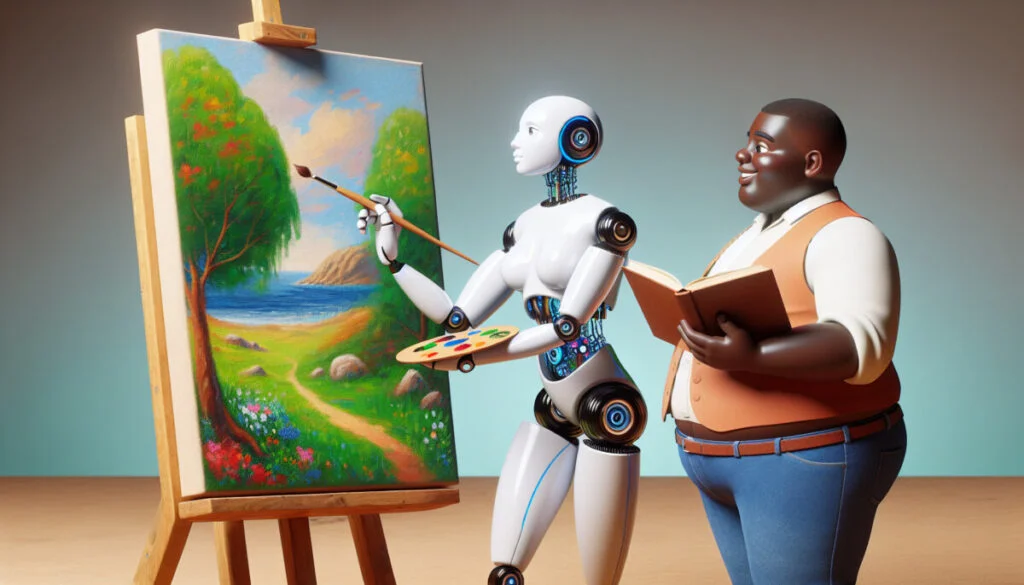
Using AI to generate art or images in April 2025 is a fun and accessible way to unleash your creativity. By choosing the right AI image generator and learning how to craft effective prompts, you can bring your imaginative ideas to life in stunning visual form. Experiment with different styles and prompts, and enjoy the process of creating unique AI-generated artwork.