Liam earned an M.A. in Communication and a B.S. in Psychology and brings 8 years of experience creating evidence-based guides for families and community groups. His expertise includes conflict resolution, positive communication, and everyday life skills. He received a university outreach award for a series of workshops on digital well-being. He enjoys distance running, baking bread, and national park road trips. Liam leads our relationships coverage, writes conversation templates and checklists, and partners with the news desk when culture stories touch family life.
Discover the best laptops with high performance in 2025! Explore top picks for gaming, professional work, and creativity, featuring powerful processors, advanced GPUs, and stunning displays
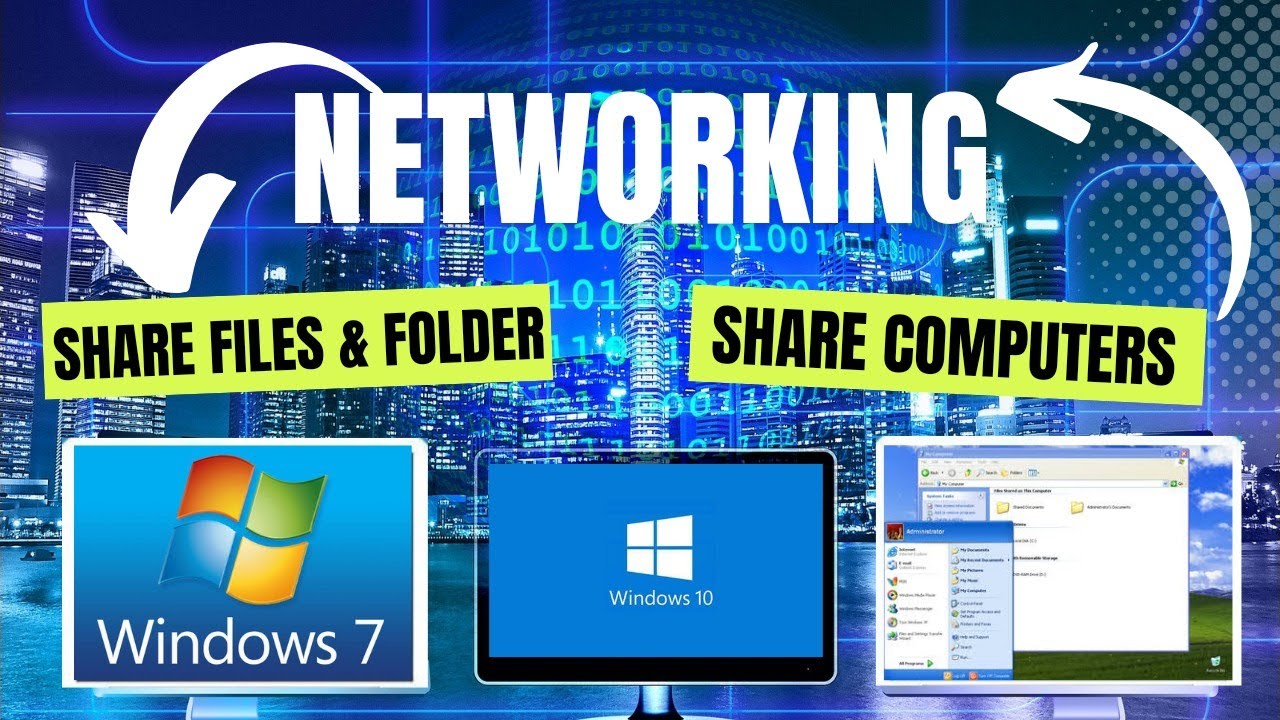
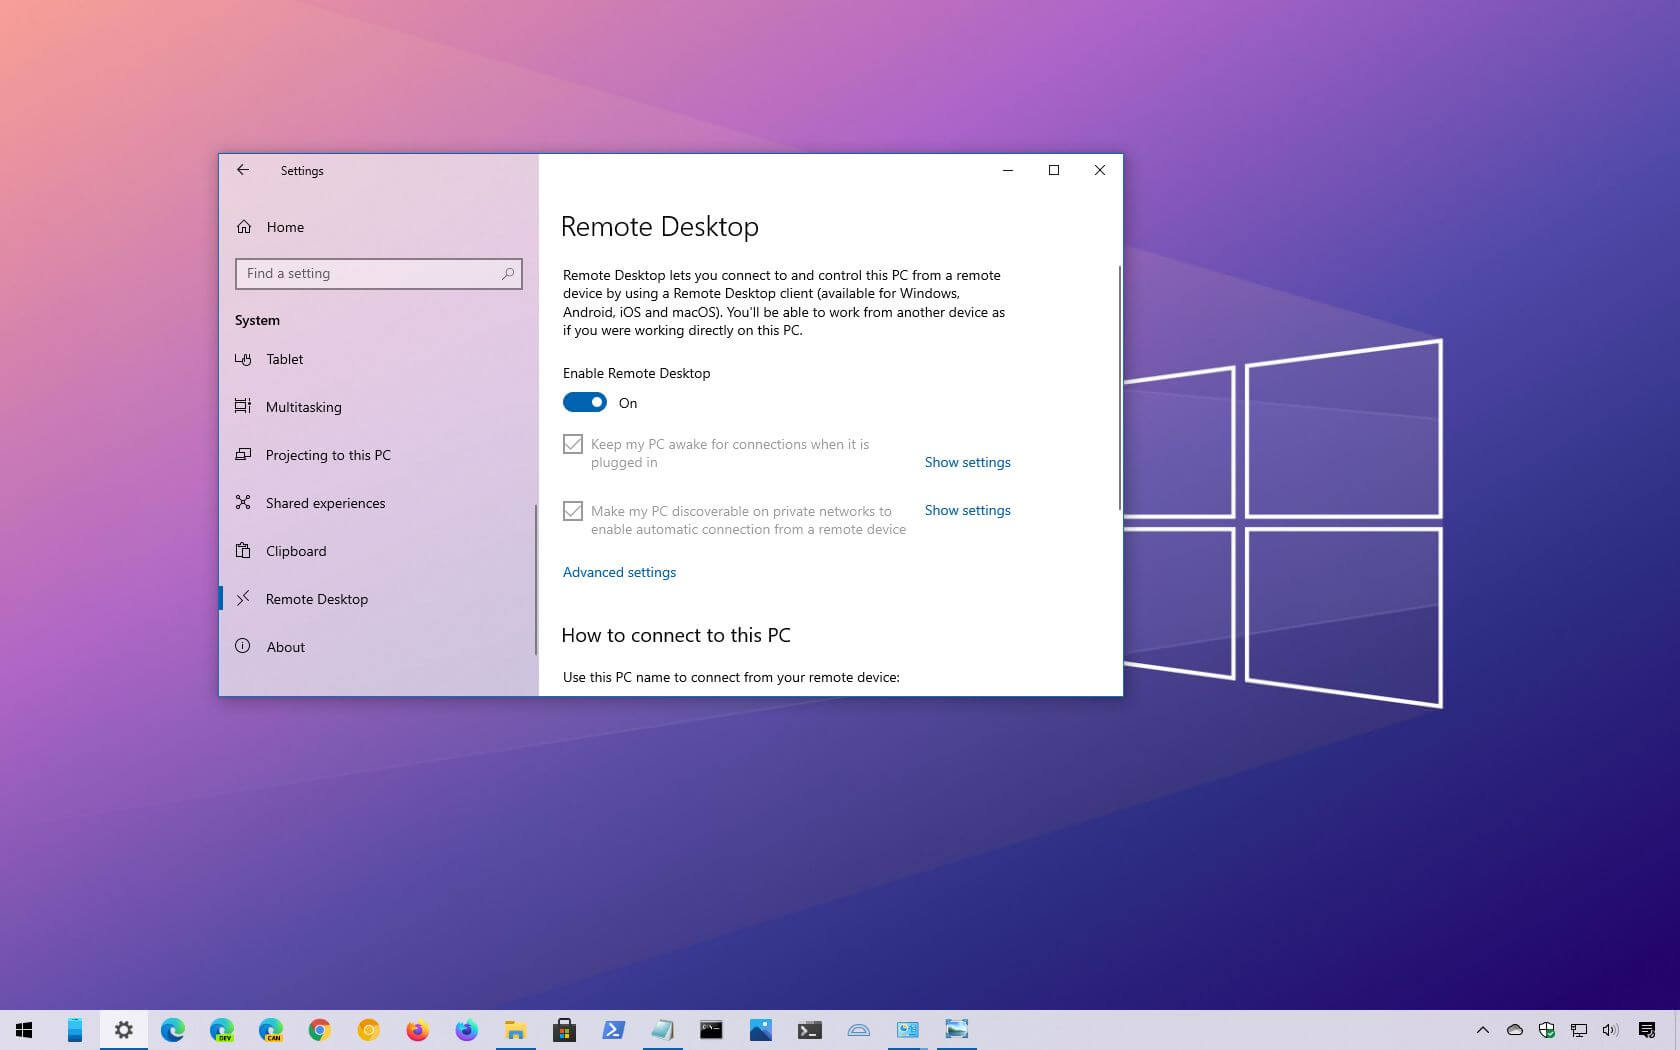
Learn how to share files between Windows PCs on the same network using File Explorer, Nearby Sharing, and mapped drives with easy step-by-step instructions.
Start your AI journey with Python on Windows. Learn how to set up your environment and explore beginner-friendly ML project ideas like classification & sentiment analysis.
Safely cleaning your computer in April 2025 involves a combination of careful techniques and the right tools. By following these steps, you can effectively remove dust and debris, helping your PC run cooler, quieter, and potentially faster.
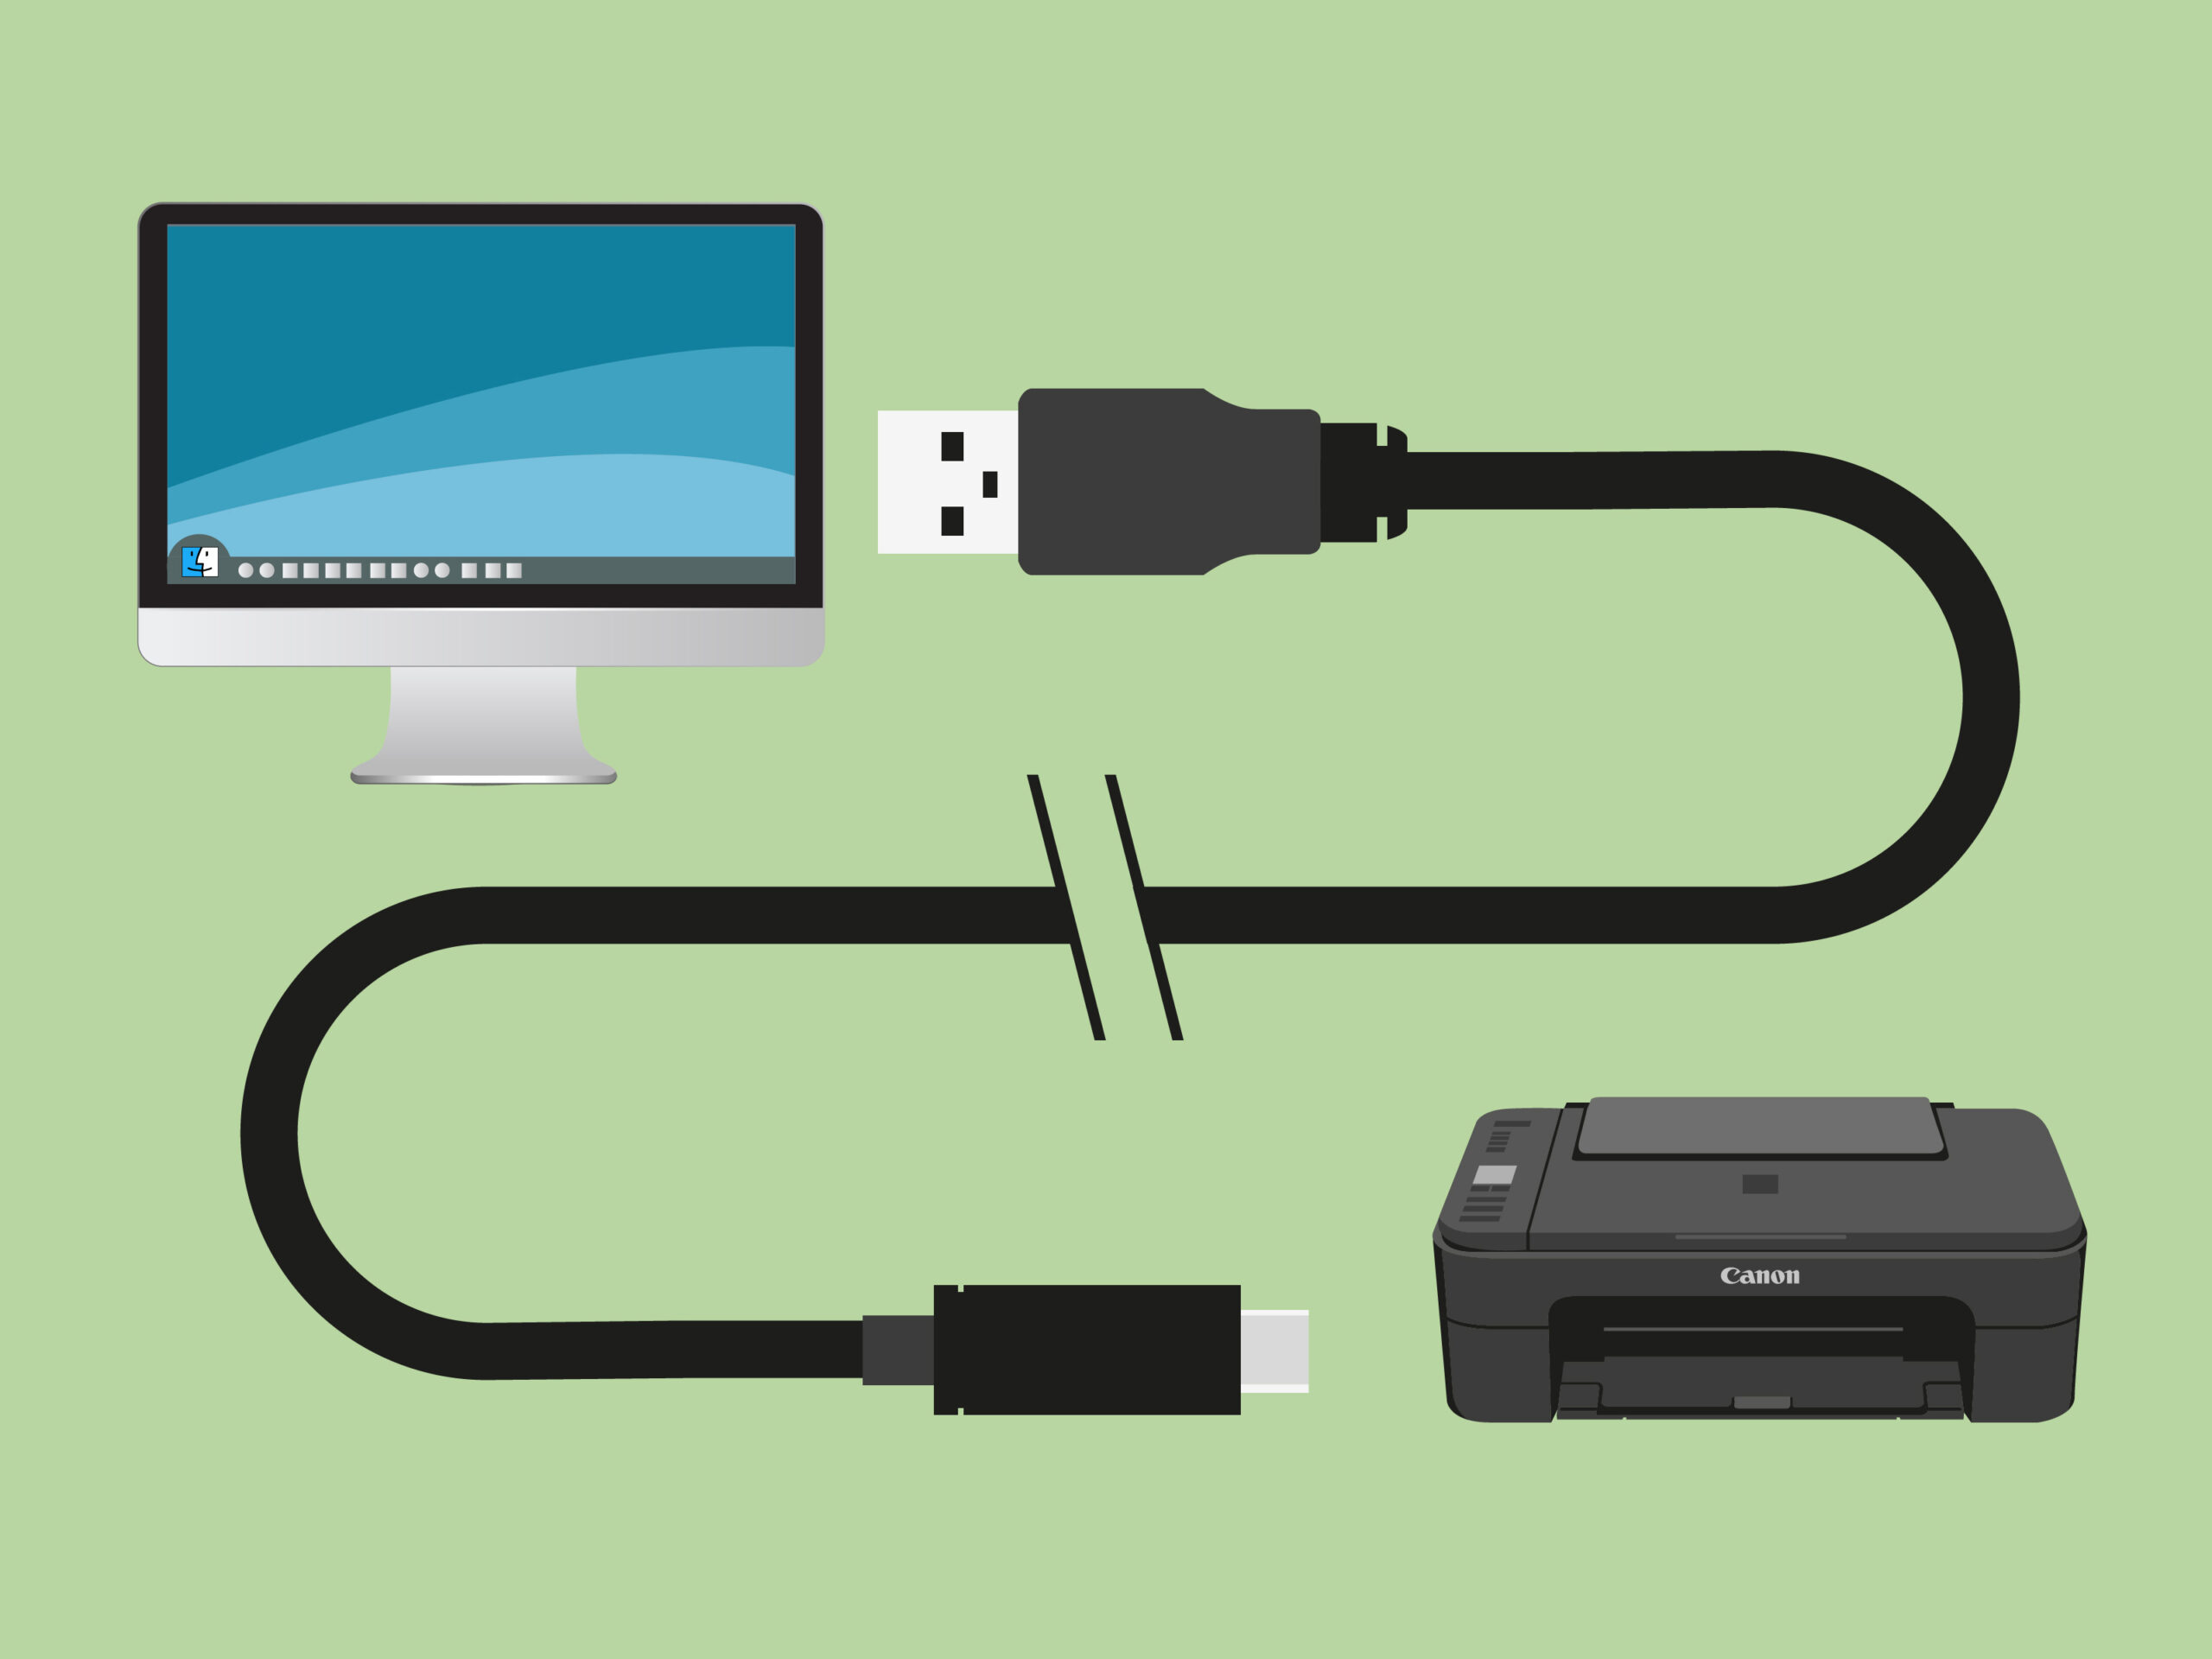
Setting up a wireless printer on your computer in April 2025 offers a convenient and clutter-free printing experience. By following these detailed steps for preparing your printer, connecting it to your Wi-Fi network, installing the necessary drivers, and troubleshooting any potential issues, you can easily enjoy wireless printing from your computer.
Choosing the best laptop for college in 2023 involved understanding individual needs, setting a budget, and researching the top-rated models available at that time. This guide provides a snapshot of the laptop landscape for college students in 2023, highlighting the key considerations and recommendations that were relevant during that academic year.
Understand artificial intelligence (AI) step by step! Learn its definition, key concepts like machine learning and deep learning, how it works, and real-world applications.