nobanusa.com
nobanusa.com
nobanusa.com
What are You Looking for?
Search
Business
Crypto
Editorial
Health
Tech
Home
Editorial
Page 3
Editorial
29 posts
By
Lucas
May 5, 2025
How to Build an AI Chatbot with No Coding
Editorial
By
Nitin Agarwal
April 16, 2025
How to Use AI to Generate Art or Images
Editorial
By
James
April 15, 2025
How to Grow your Business with Digital Marketing
Editorial
By
James
April 11, 2025
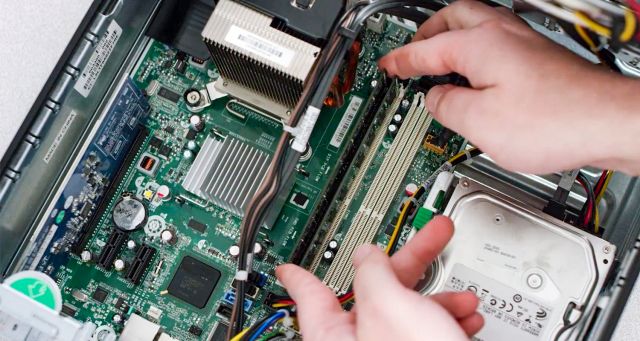
How to upgrade RAM on your computer safely
Editorial
By
Liam
April 3, 2025
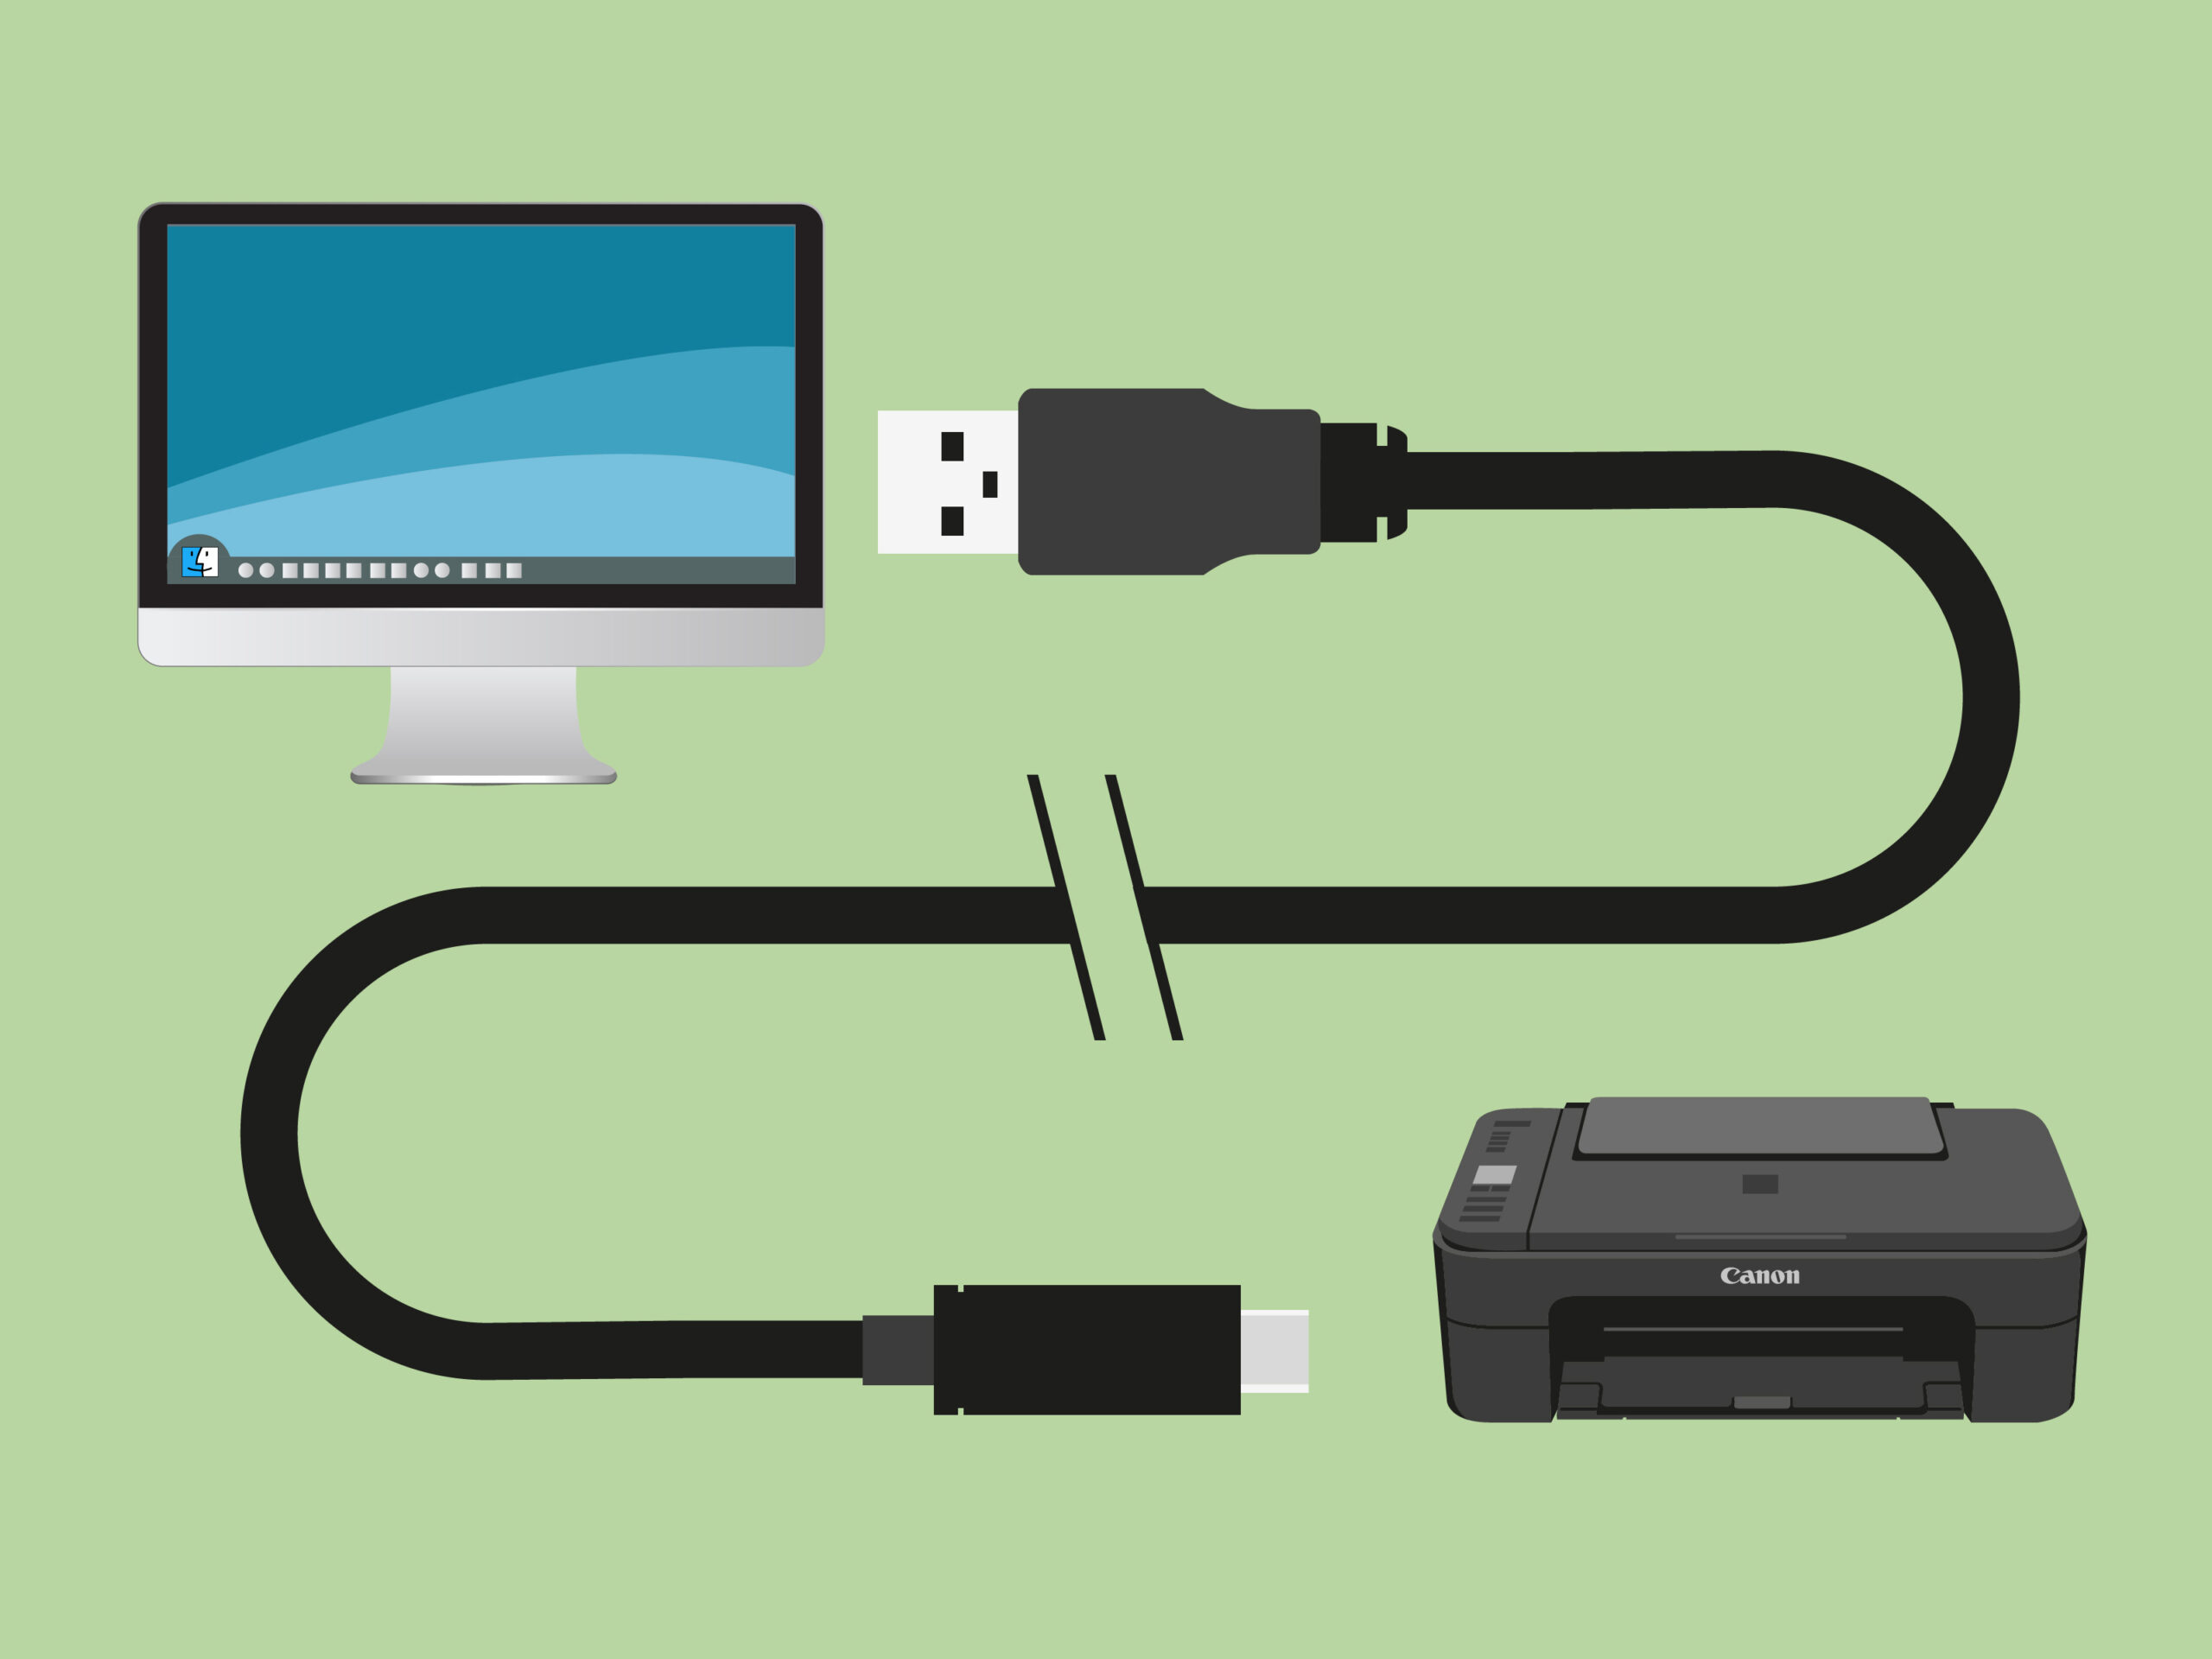
How to set up a wireless printer on a computer
Editorial
By
Elijah
April 2, 2025
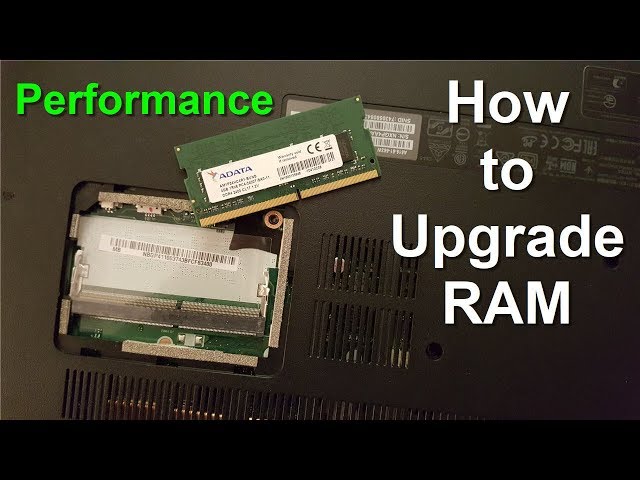
How to upgrade RAM on a laptop for better performance
Editorial
Tech
By
Liam
March 28, 2025
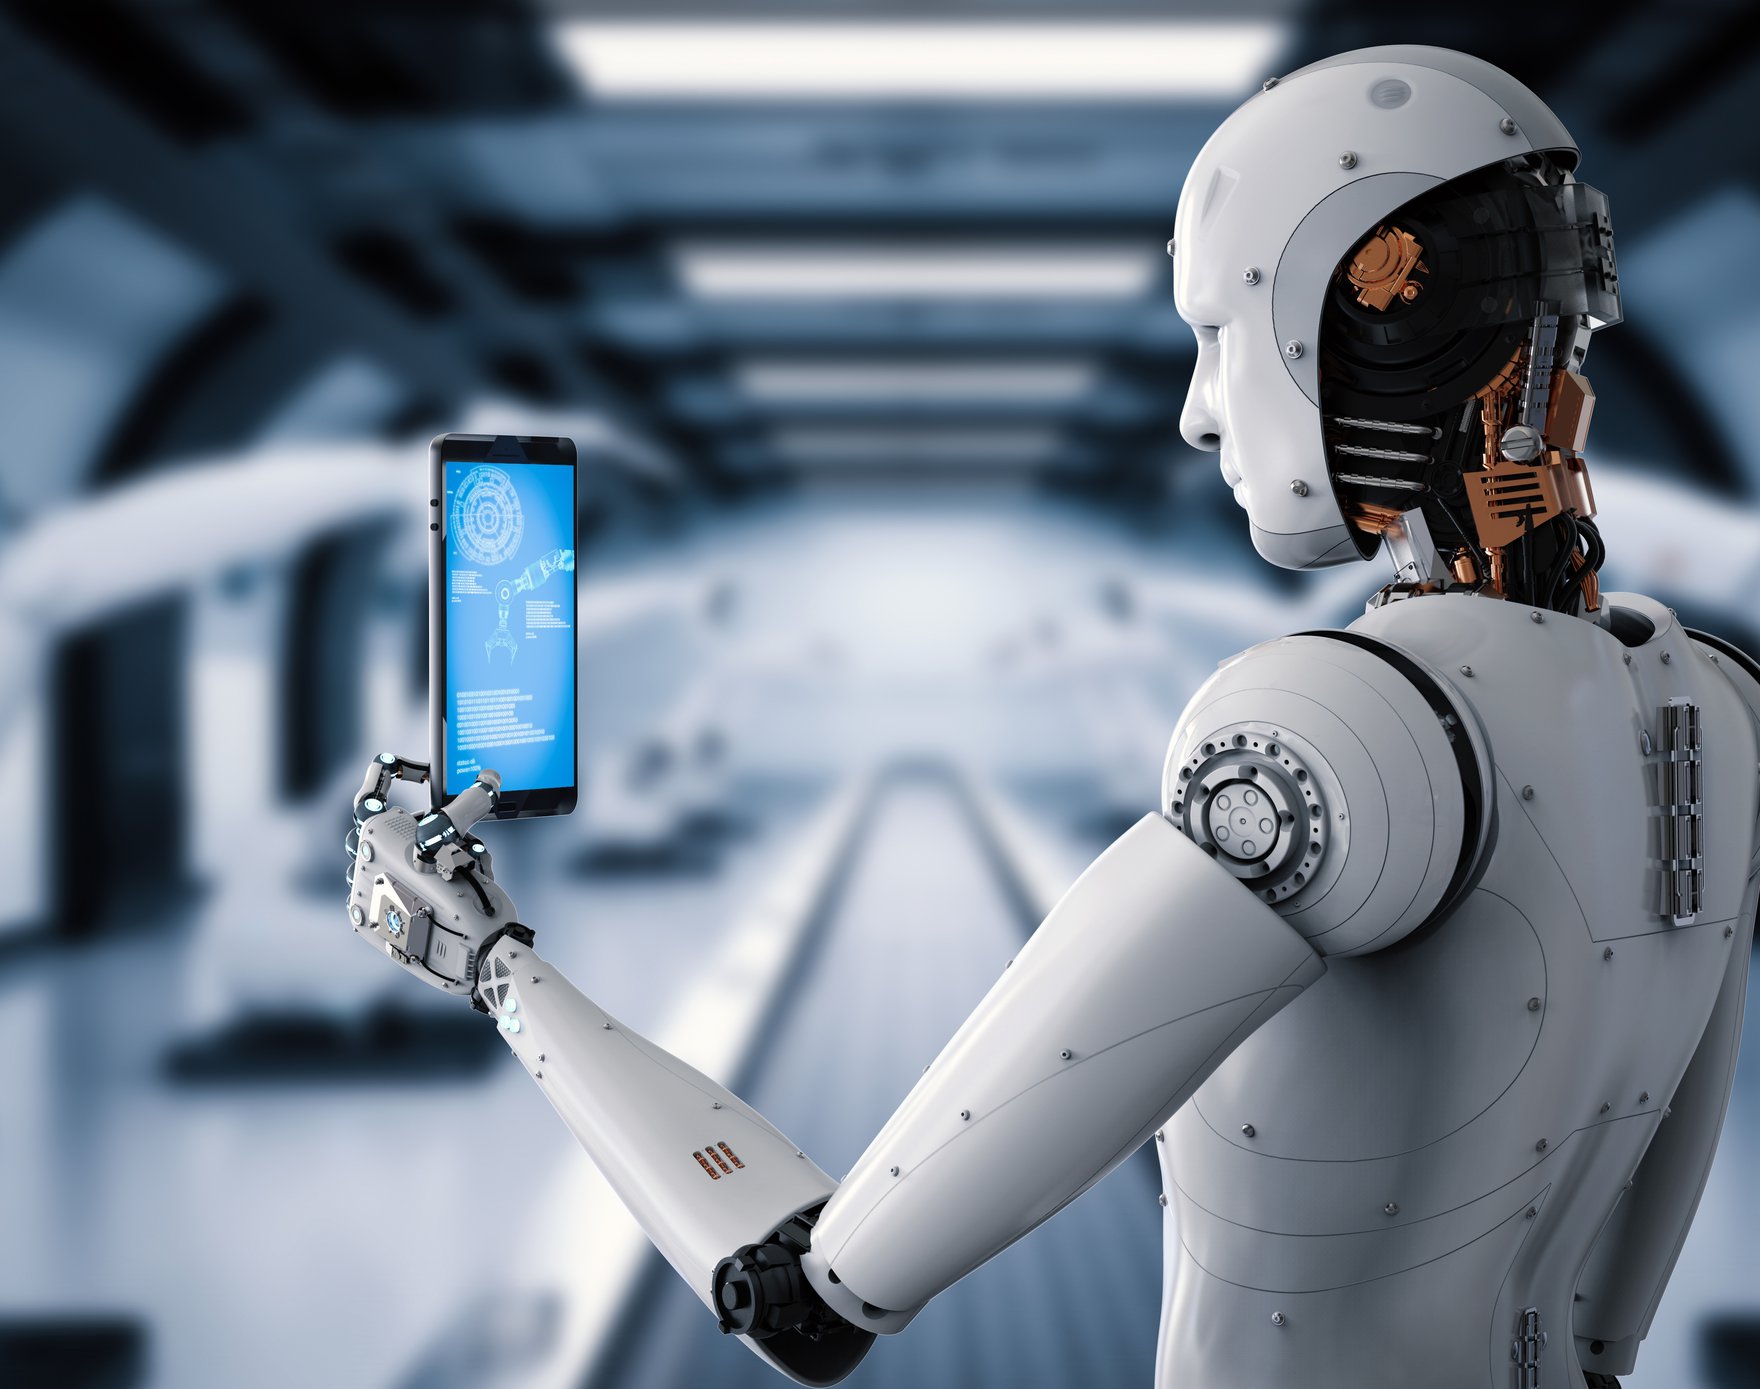
What is Artificial Intelligence and How it Works
Editorial
By
Liam
January 25, 2025
How to Start Affiliate Marketing with No Money
Business
Editorial
By
James
March 28, 2023
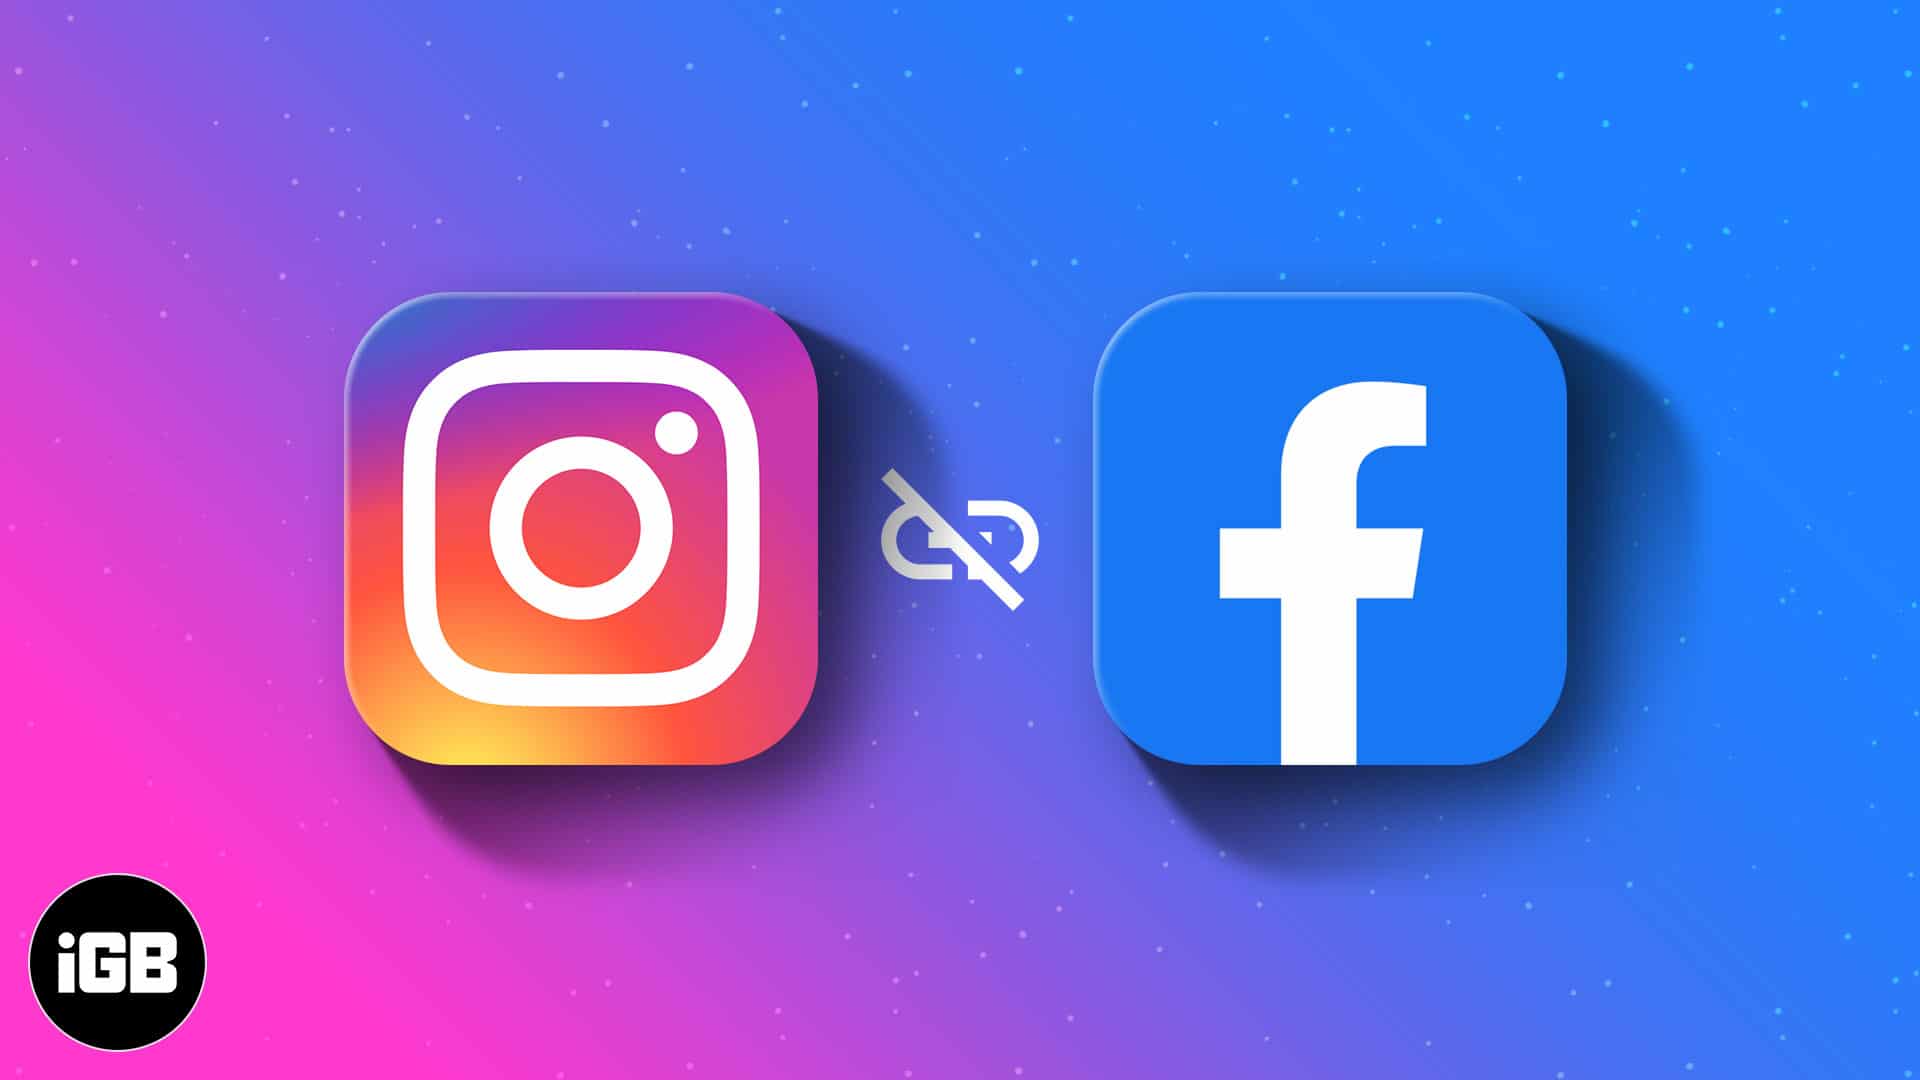
How To Disconnect Your Instagram Account From Facebook
Editorial